
We replaced our storm door over the holiday weekend and I’m exceedingly proud of how it turned out. While our porch is nowhere near a true “after” reveal, I want to be better about documenting progress on the blog. The pressure to post a “before” image followed by a beautiful “after” photo is real, but when you’re not a full-time blogger, it’s unrealistic to wait until everything is complete to celebrate success! Plus, I do think there’s value in showing that house projects take time and there will be plenty of “in-between” moments as you prioritize other things. So, here we are with a series of iPhone photos and athletic wear!
Obviously the door you’re looking at is our front door and opens into the entry. Our living room is to the right and the stairs to the second floor are on your left. The door on the right goes to what was an original porch that extended along the front of the house. We never use that door and will eventually be closing it off when we do a remodel of the exterior to add more windows and transform the dingy space into a functional sun room. (I’ve been using that space for painting projects and will take proper photos once I clear it out.)
Replacing our storm door had been at the top of to-do list all summer, but we kept putting it because it seemed intimidating. One of our friends insisted that it wasn’t too bad, so we ordered a new door and hoped for the best. Then Dave’s dad offered to help and we took him up on his gracious offer.
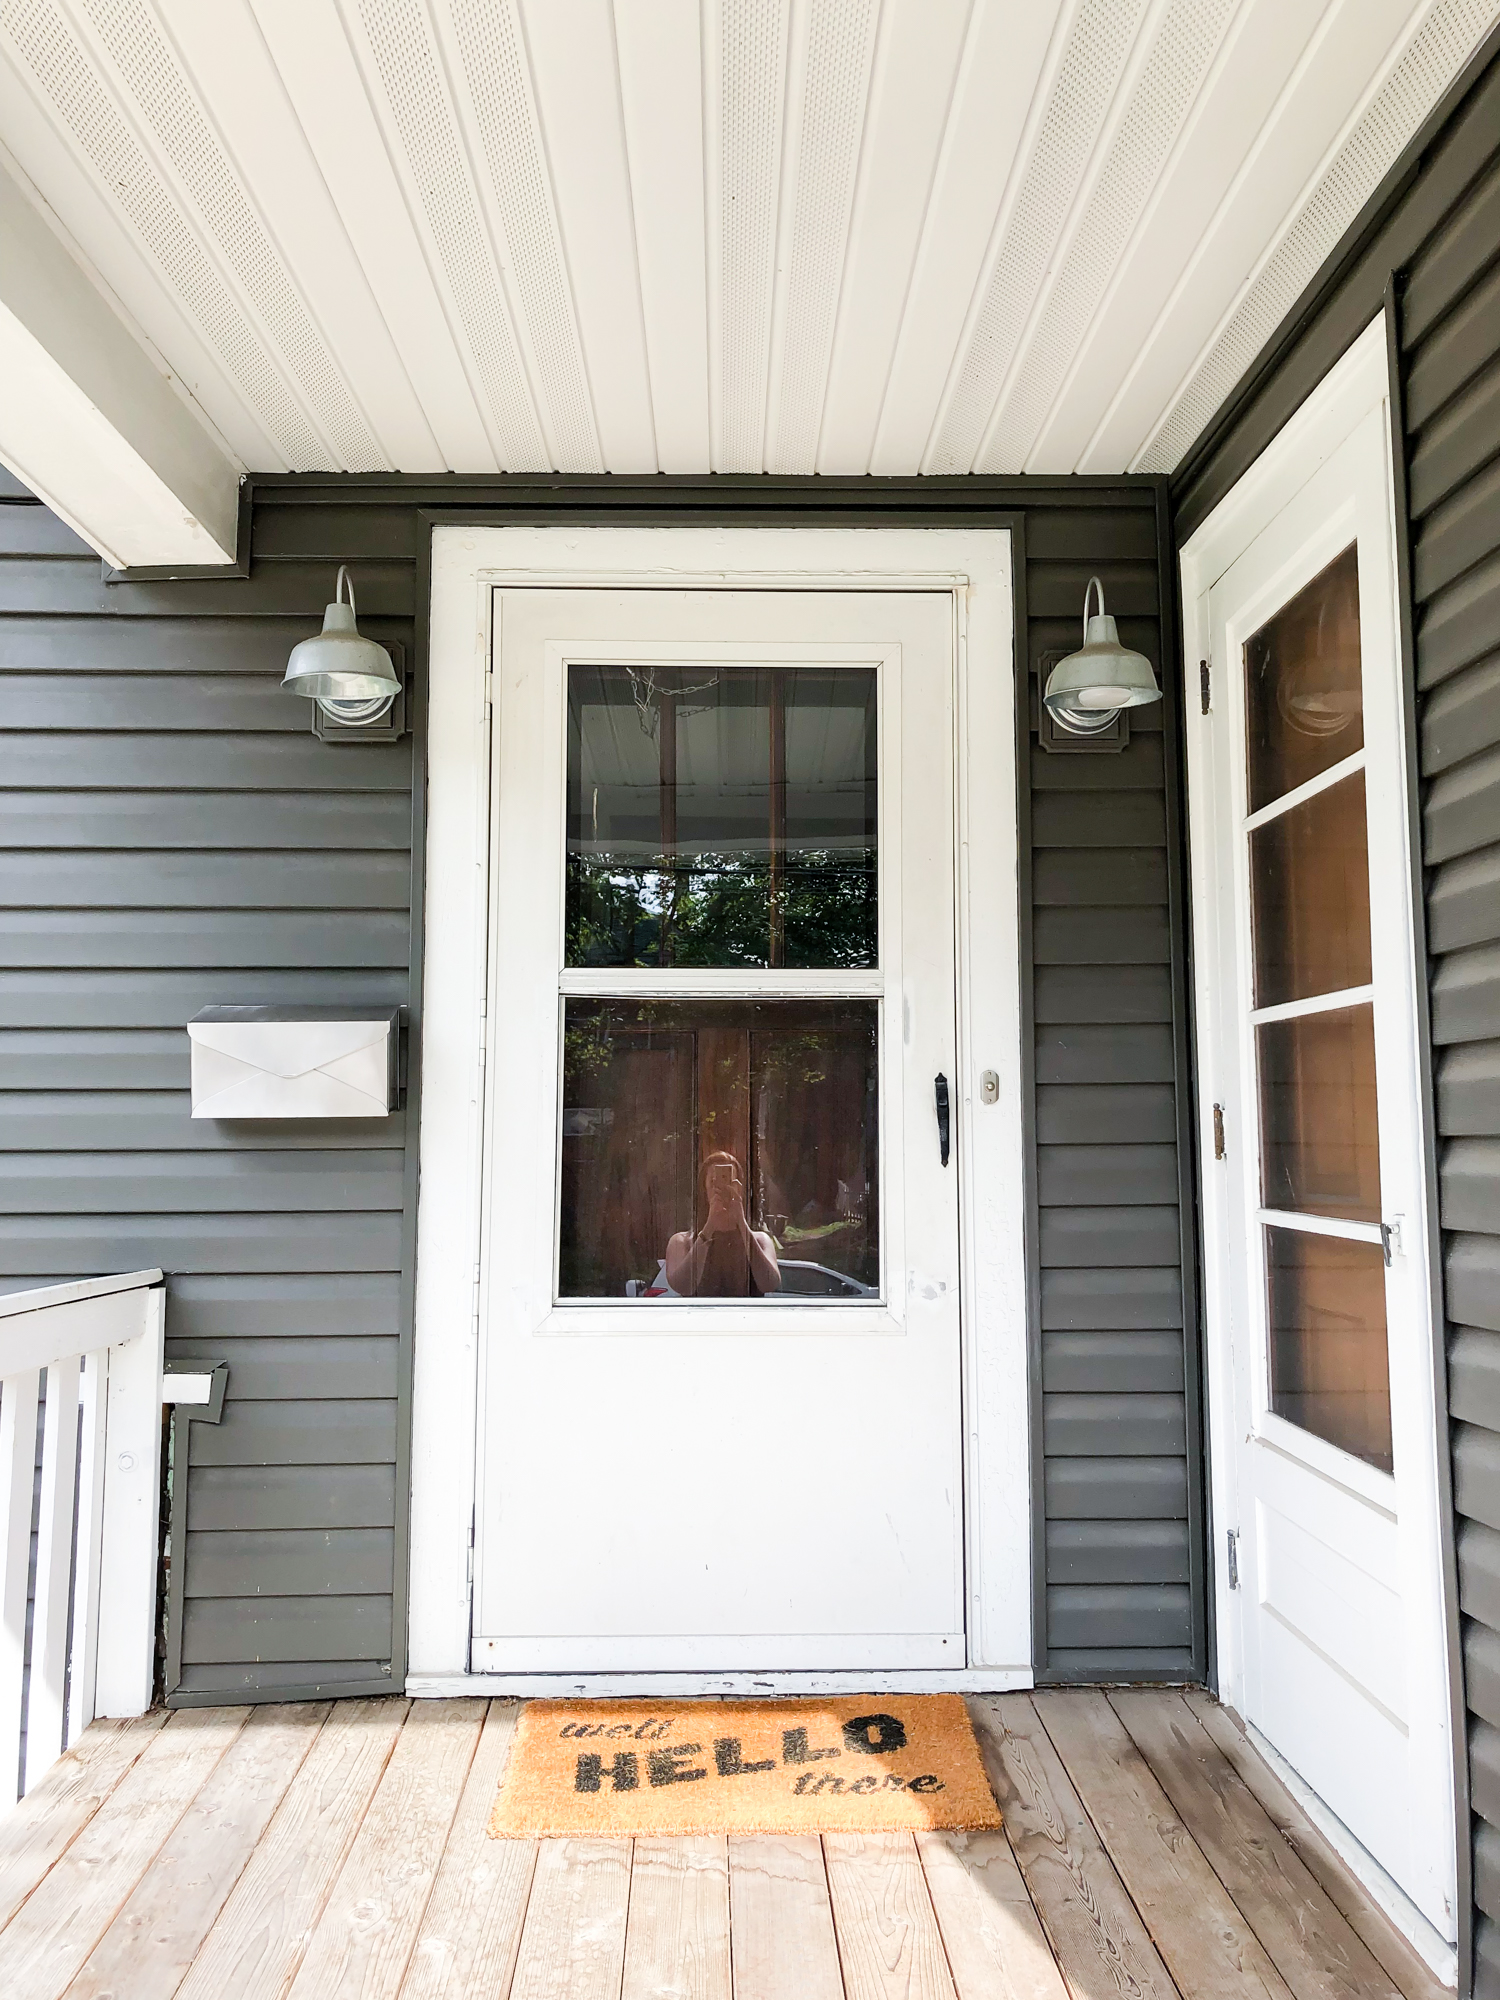
I’ll admit that the door doesn’t look terrible in the photos, but that’s a lie. This door was flimsy, had paint that had worn off, had remains of duct tape that I could never remove, and a weird and non-functional chain at the top. I could have painted it and added a new door handle, but really, it was time to replace it with something modern. Plus, I wanted a screen. I’m not sure if this door ever had one? If it did, it certainly wasn’t left with the house and was probably misplaced decades ago.
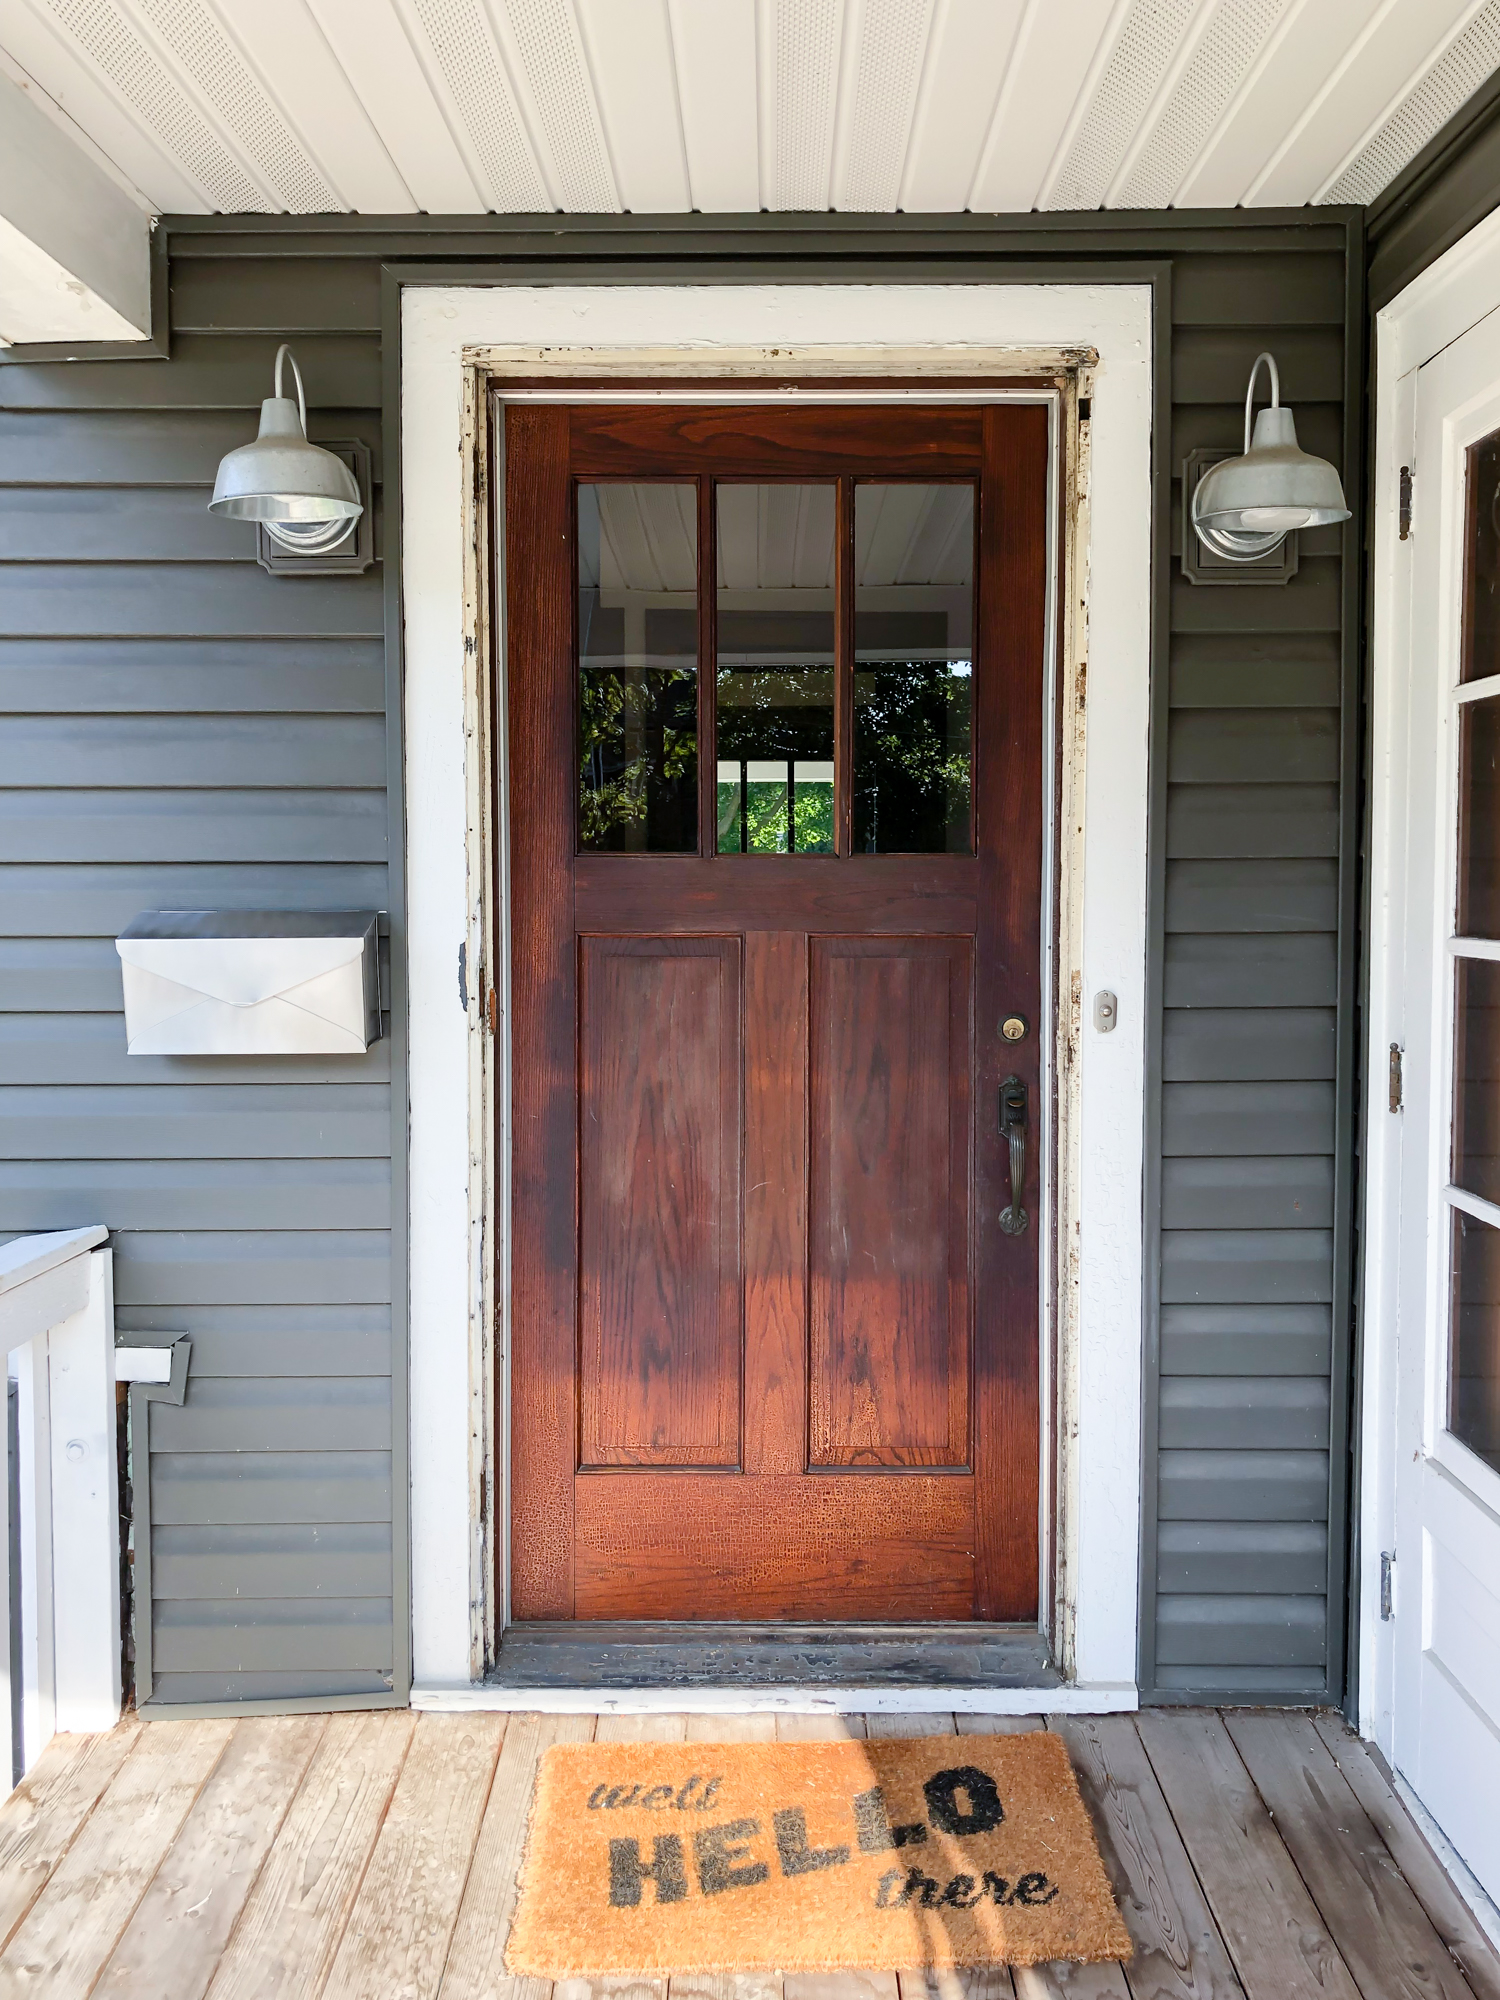
Removing the old door went a lot faster than I thought it would. The screws had been painted over and I figured it would be a bear to deal with. It wasn’t. But, oof, you can really see how rough the original door is in the sunlight. Honestly, it’s a gorgeous door, but it’s in need of TLC. There are dried spots thanks to sun exposure and the original varnish is cracking. Eventually I’d like to have it stripped and restained, but it’s so not on the top of my to do list. I’m torn on whether or not to polish the brass door handle since the patina is beautiful. (I’m sure no one has ever done it in the house’s 90-year history.)
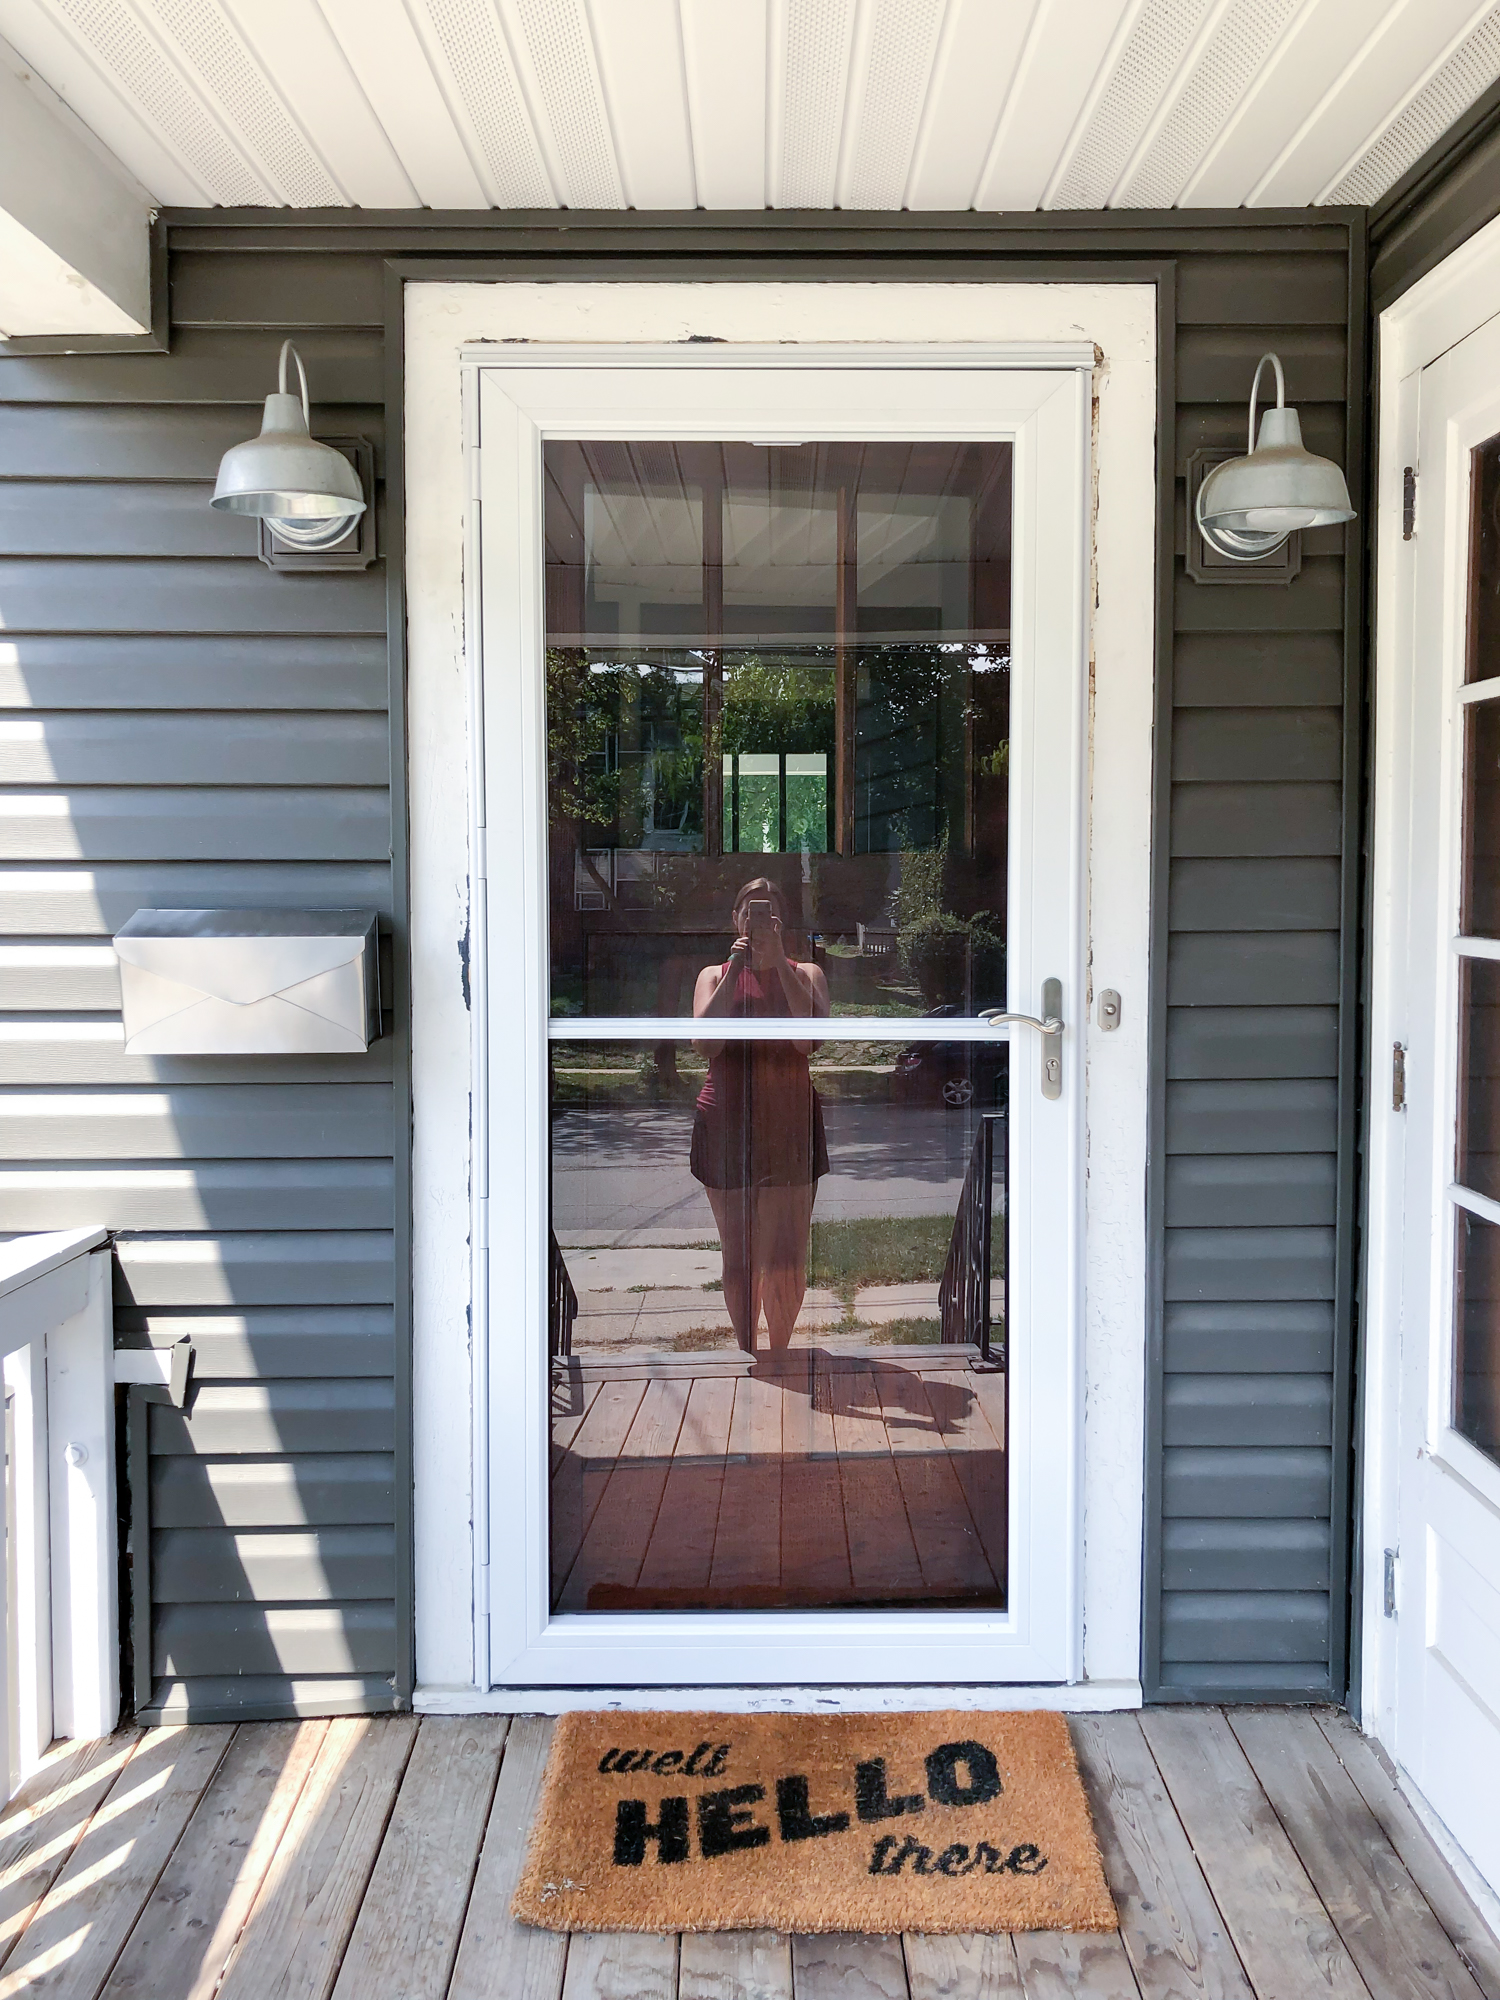
I was so proud of this “after” photo on Monday, even if you can see all of the paint that was scraped away when we removed the existing caulk. I would have painted when the storm door was off had I realized that the new door frame wouldn’t extend as far over the trim as the original door did. So, keep that in mind if you’re ever replacing a storm door. Take it off earlier than you plan to install the new one and add a fresh coat of paint before the new one goes on. It would have been much easier at that point.
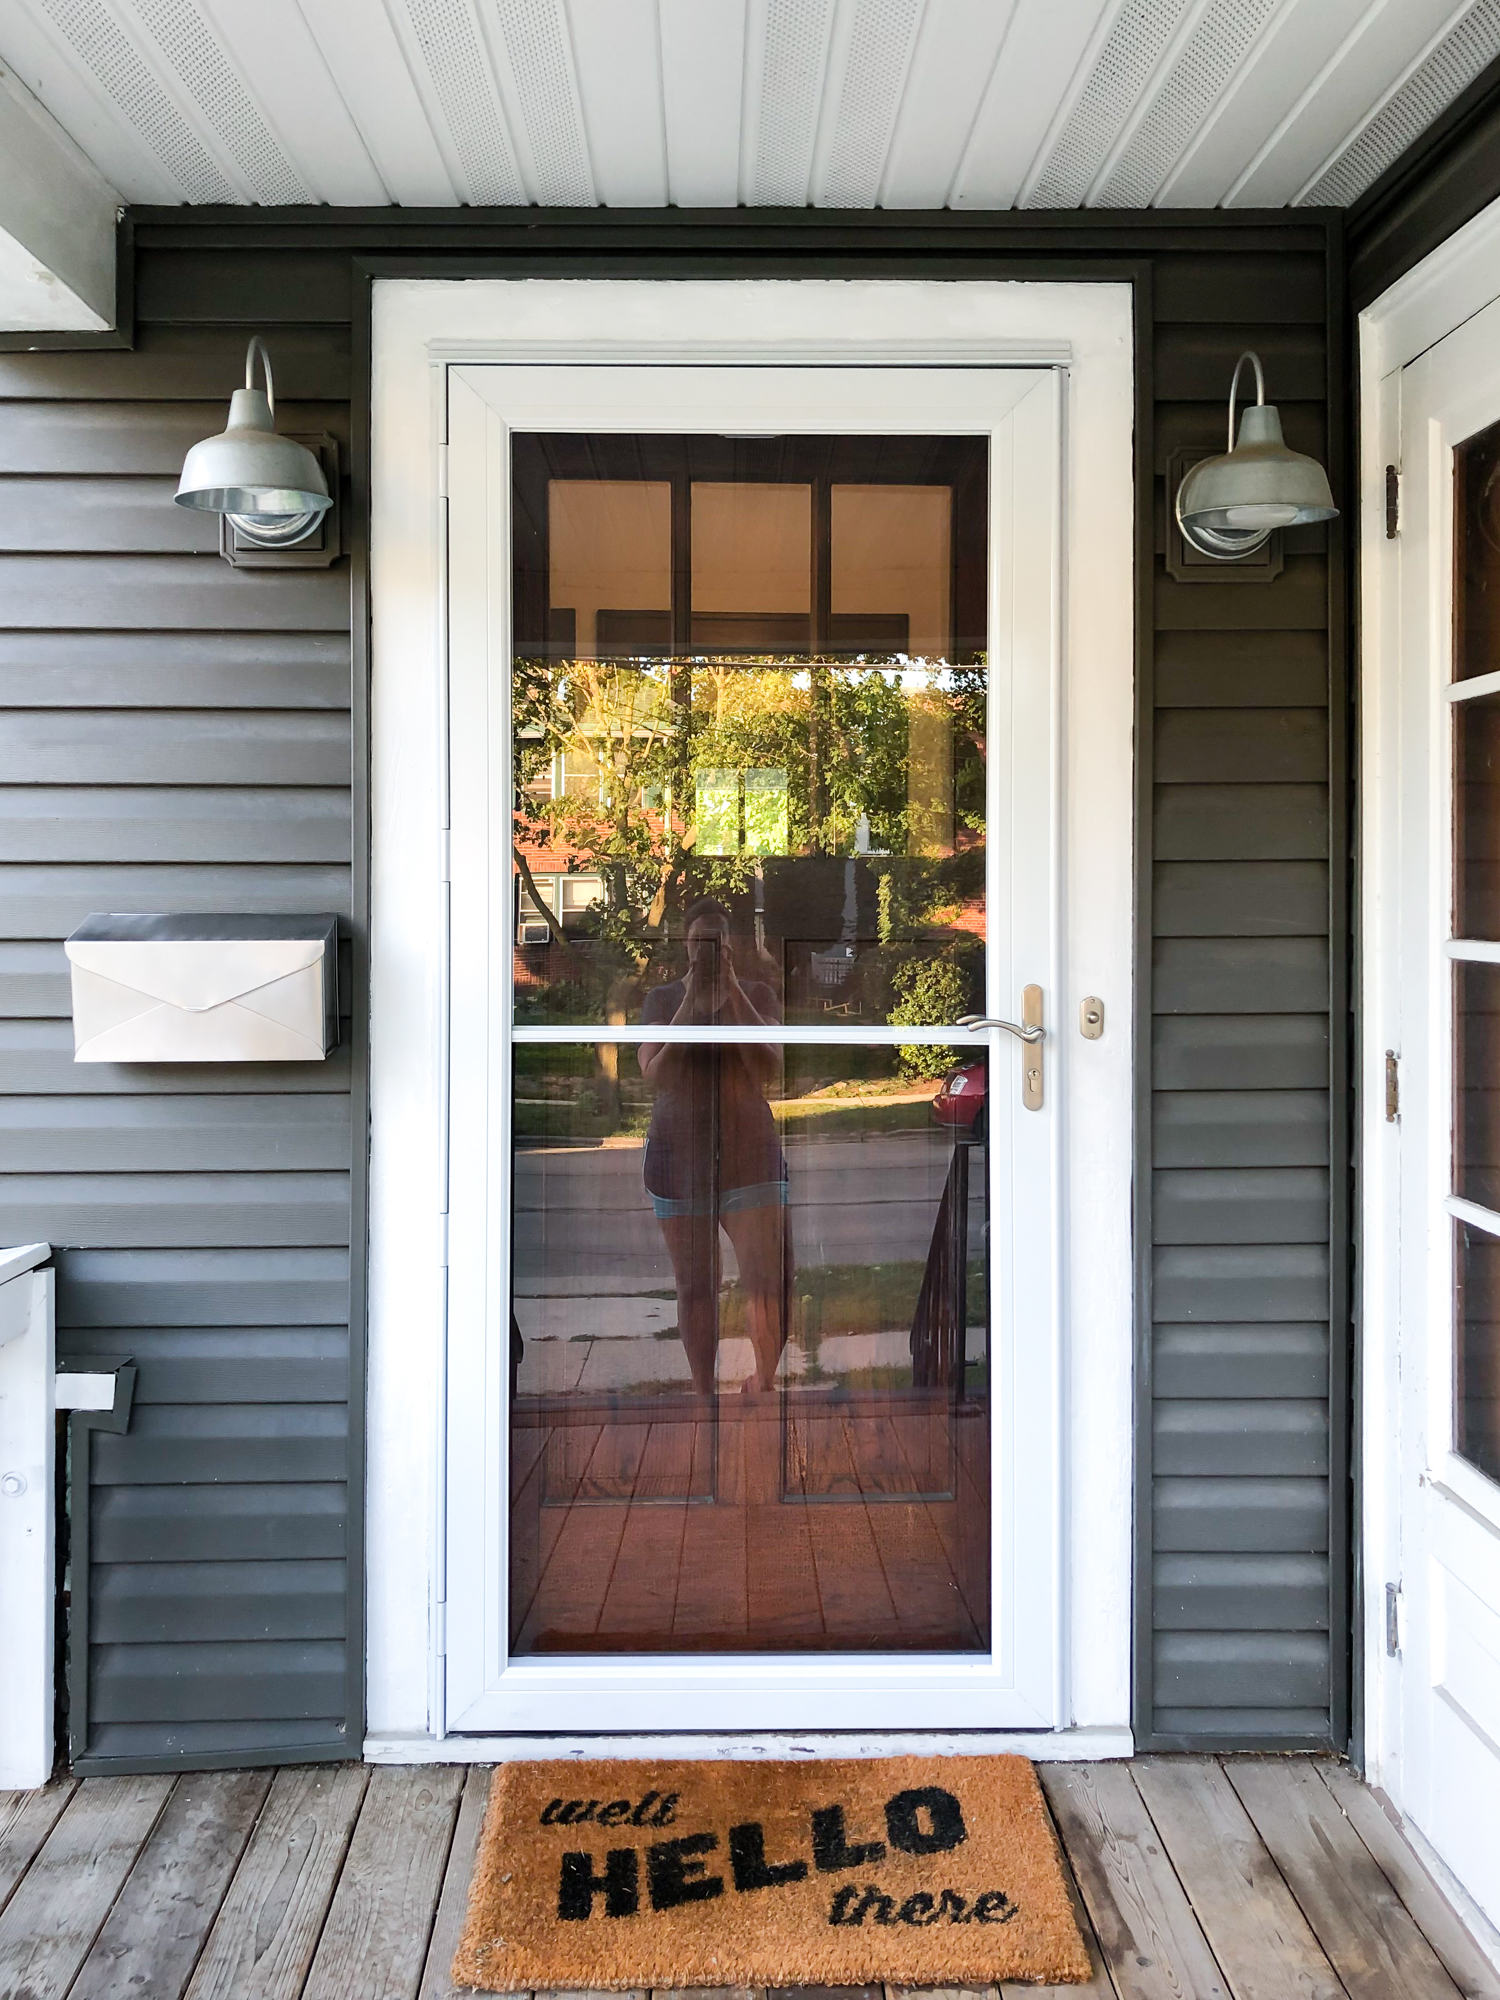
And here we are after a fresh coat of paint! The actual door removal and installation took about two hours and taping and painting took another hour. I think it makes the front porch look so much more inviting and I’m sorry that I waited so long to do it in the first place!
This fall, I’d like to stain or paint the floor (probably dark grey) and replace the light fixtures. The fixtures look okay in photos, but they’re such poor quality. They’re flimsy and, ugh, I just hate them so much. I’d like something in brushed nickle to match the other hardware outside.
Sources: Andersen storm door | West Elm door mat (also love this one) | CB2 mailbox (also love this one) | House of Antique Hardware doorbell